How To Connect to Sonicwall VPN With NetExtender
Likely you are on this page because you are trying to connect to NetExtender, Sonicwall’s preferred VPN software. Below are the steps to connect to your Sonicwall’s VPN.
-
- Download and install NetExtender. This can be downloaded through mysonicwall.com or via a link we sent you.
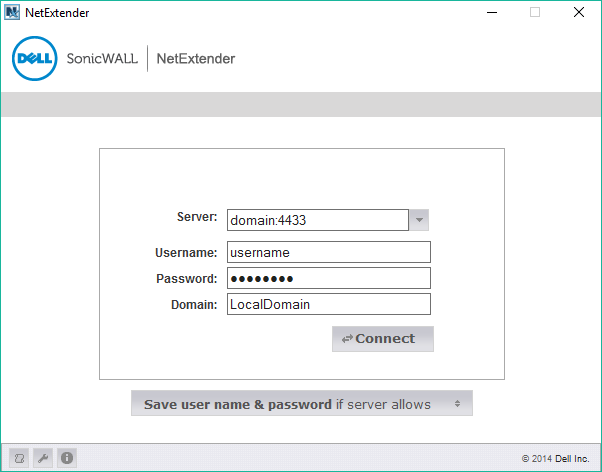
- After installing, run NetExtender.
- For Server: enter the server name provided for you by your technician. This is typically followed by a :portnumber, which by default is 4433.
- For Username: enter the server name provided for you by your technician.
- For Password: enter the password provided for you by your technician.
- For Domain: enter the domain name provided for you by your technician. This is commonly LocalDomain.
- Click Connect.
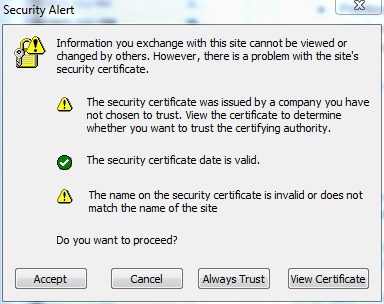
- You will likely get a Security Alert. You can accept or Always Trust this alert in most cases. (If you click Always Trust you will not receive a Security Alert in the future.)Optional Step (skip if not necessary): An extra (unnecessary) step for further validation before accepting this certificate, you can click on View Certificate, click Details, and click on Issuer. You should see “HTTPS Management Certificate for SonicWALL (self-signed)“.

A common security alert from SonicWall NetExtender. - Click Connect again.
- You should now be connected to your network!